
Children with Sensory Processing Disorder are often misdiagnosed as well as misunderstood. It can be a struggle for children with SPD to get through an average day. Occupational therapy has been proven to be a very useful tool for these children. Along with occupational therapy, yoga can be helpful, especially when incorporating several YoGalore techniques. These techniques, activities and poses (especially when practiced consistently) can improve children’s ability to process as well as provide tools for calming and relaxing when these children encounter a situation that is stressful to them. Read the entire article at YoGalore and More.
Even if you’re not the most flexible their are positions for everyone. I’ll be giving you my personal recommendations and a step to step guide on different yoga poses. For example child’s pose which is my favorite is a relatively beginner pose that anyone can do. read below for instructions.
All Yoga poses on this article is content by ANATOMY OF FITNESS 501 Yoga Exercises written by Nancy J. Hajeski.
ANATOMY OF FITNESS 501 Yoga Exercises
Child’s Pose:
This beginner pose, also called Balasana, stretches the spine, hips, thighs, and ankles, and relieves stress.
Step 1: Kneel on the floor with your hips over your knees. Bring your feet together, fold your torso down onto your legs, and elongate your neck and spine.
Step 2: Place your hands, palms up, on the floor beside your feet.
Step 3: Allow your shoulders to widen and relax, and place your forehead on the floor. Rest in pose for as long as needed.
Note: There are two different alternative ways to do Child’s Pose. I’ll describe the two other types of Child’s Pose down below.
Child’s Pose with Extended Arms:
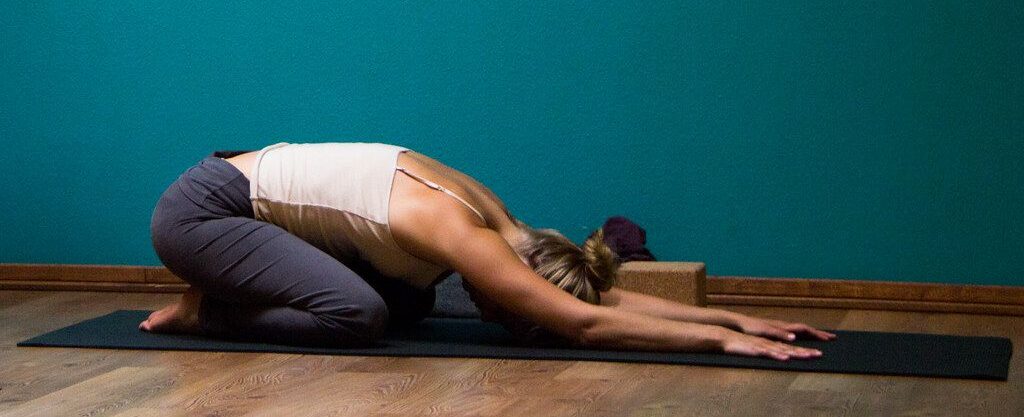
Step 1: Follow first step of original Child’s Pose above.
Step 2: With body folded forward resting on thighs, reach both arms forward, wider then shoulder width, and press the floor with your palms. Hold for 30 to 60 seconds.
Child’s Pose Hands to the Side:

Step 1: Start this pose as you would for Child’s Pose with Extend Arms
Step 2: Shift your torso to the right from the waist and reach your arms to the right, palms to the floor. Hold for 30 to 60 seconds, then repeat on your left side.
Correct form for all versions of Child’s Pose: Inhale into the back of your ribcage; round your back so that it forms a dome shape.
Avoid: Do not compress the back of your neck; keep it extended, with your crown facing forward.
Mountain Pose:
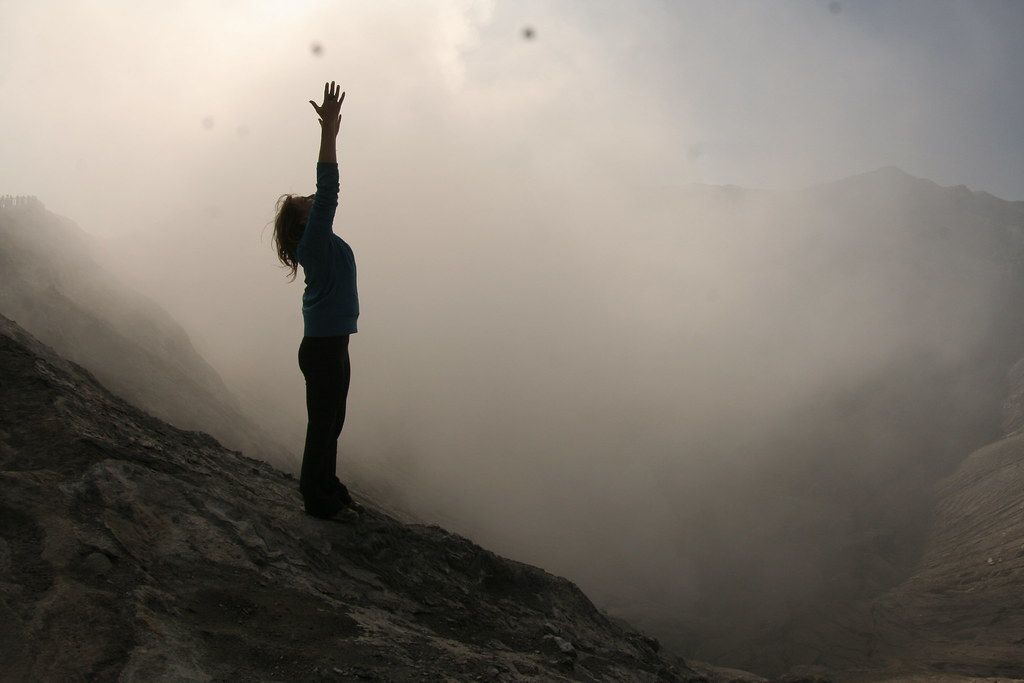
Mountain Pose is the foundational Pose from which all other standing positions and inversion follow. This pose improves spinal posture, balance and muscle alignment throughout the body. While it may seem like a basic posture, there are many subtle principles of alignment which can be applied to many of the standing poses that follow.
Step 1: Stand with your feet together and your arms at your sides. Press your weight evenly across the balls and arches of your feet.
Step 2: Bring your pelvis to its neutral position. Do not let your front hip bones point down or up: instead, point them straight forward. Draw your belly in slightly.
Step 3: Elongate through your torso. Exhale and release your shoulders blades away from your head, toward the back of your waist.
Step 4: Rotate your inner arms outward, bringing your hands out to your sides. Spread your fingers apart and hold your palms facing forward.
Step 5: Hold this pose for one minute, feeling your spine lengthen throughout.
Correct form: Align yourself so that your ears, shoulders, hips, and heels are in a straight line, with your weight even across both feet.
Avoid: Avoid this pose if you are experiencing dizziness or imbalance. Always within your range of limits and abilities.
Corpse Pose:
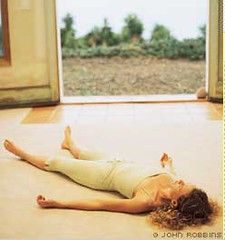
Also called Savasana, this beginner pose can calm the brain, relieve stress, and relax the body. It makes an ideal cool down after an intense session. DO NOT perform Corpse with a back injury.
Step 1: Laydown supine with your arms a short distance from your body.
Step 2: Spread your shoulders and collarbone so that your palms face up and your fingers curl naturally.
Step 3: Spread your feet a comfortable distance apart, toes angled outward.
Step 4: Relax as you close your eyes and focus on aligning your body and breathing evenly.
Correct form: Pay attention to head alignment-pull your head away from your shoulders: do not tilt it. Practice this pose with your knees bent and feet flat on the floor.
Avoid: Try not to move once your body is in alignment. Do not tense your muscles.
Tree Pose:

Tree Pose establishes strength and balance along the leg muscles, improving one’s sense of center and groundedness. This pose stretches the thighs, groins, torso, and shoulders, building strength in the ankles and calves, and toning the abdominal muscles.
Step 1: Start by standing straight, and shift weight onto your right foot.
Step 2: Bend your right knee, lifting your foot up off the floor. Reach down and clasp your right inner ankle. Use your hand to pull your right foot alongside your inner left thigh.
Step 3: To find balance, adjust your position so the center of your pelvis is directly over your left foot. Then, adjust your hips so your right hip and left hip are aligned.
Step 4: Once you have found your balance, place your hands in Prayer Position in front of your chest. Attempt to remain in this position for ten seconds or longer.
Step 5: Release and repeat, this time balancing on your left foot.
Correct Form: Rest your foot above or below the supporting knee, either on the inner thigh or calf of the supporting leg.
Avoid: Avoid turning out the foot on which you are balancing. This will misalign the hips and supporting knee.
Cobra Pose:
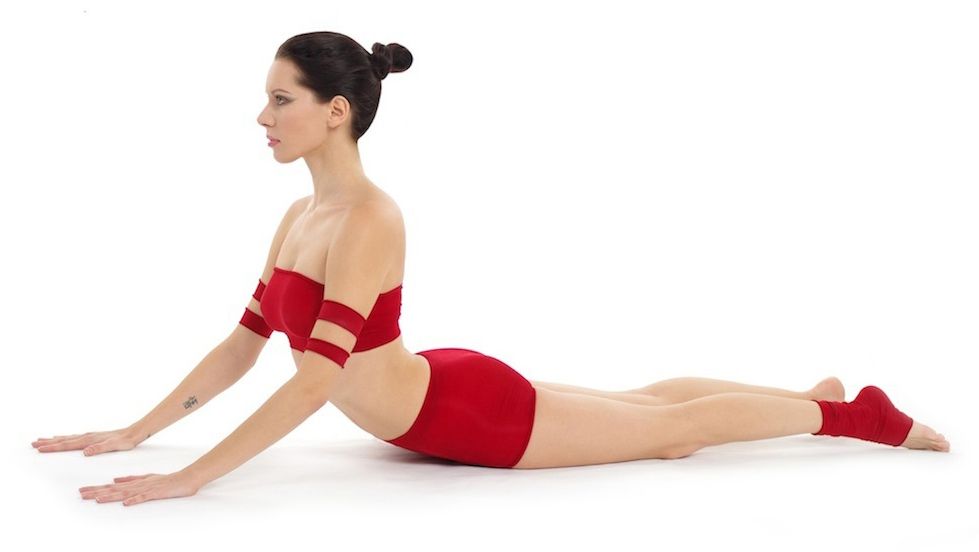
Also known as Bhujamgasana, the fundamental Cobra Pose can stimulate the digestive and reproductive systems, strengthen the lungs, and open the heart. The Cobra Pose also stretches the chest, abdomen, and shoulders, and strengthens the spine and buttocks.
Step 1: Lie prone with your flattened palms just below the shoulder, arms tucked close.
Step 2: Inhale and raise your upper torso, pushing down with both hands to guide you.
Step 3: Lift from top of the chest, push your shoulders down with both hands to guide you.
Step 4: Elongate the neck and gaze slightly upward. Hold for 15 to 30 seconds.
Correct Form: Use your chest and back to create an arch in the back rather then depending on your arm. Do not completely straighten your elbows-that closes the chest.
Avoid: Do not tense buttocks or splay elbows away from torso. Keep your hips on or close to the floor.
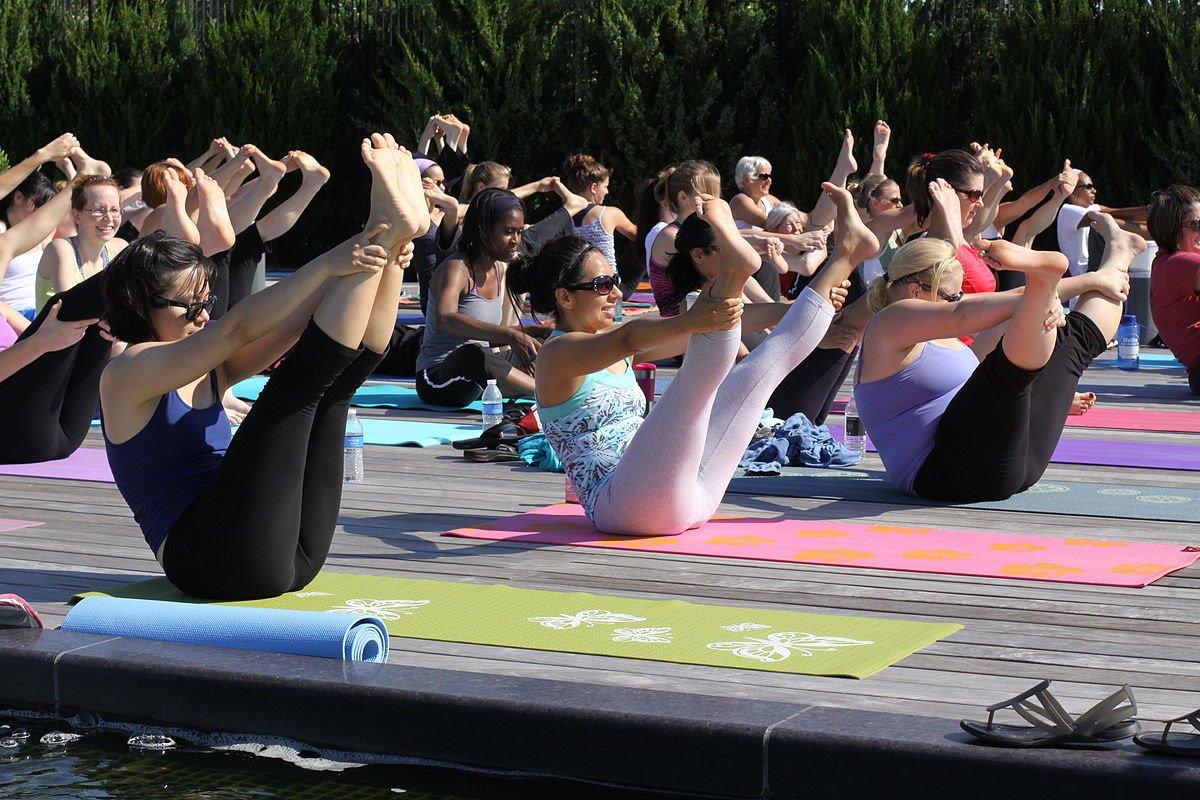
Knees to Chest Pose:
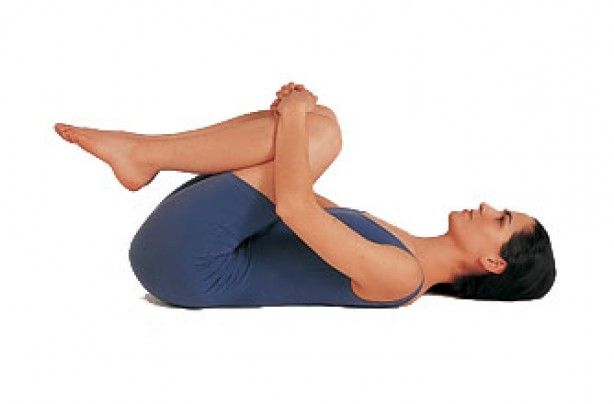
Also called apanasana, this beginner pose is beneficial for stretching the lower back and the hips. It is also useful for stimulating digestion. DO NOT preform this pose if you are pregnant or have recently had knee surgery.
Step 1: Lie supine on the floor. Exhale, and draw your bent knees up until your shins are parallel to the floor.
Step 2: Place your hands around the front of your knee. Lengthen the back of your neck away from your shoulders. With each exhalation, gently pull your knees closer to your chest as you flatten your back and shoulders on floor.
Step 3: Hold for 30 seconds to one minute.
Correct Form: Make sure to keep your neck in neutral position. For a more challenging variation, wrap your arms around your knees and gasp the opposite elbow with each hand.
Avoid: While holding this pose, try not to tense your back or leg muscles.